If you’re a happy RStudio user, you may never have had the urge to try another editor for R (or even Python). But if you want to try GitHub Copilot—GitHub’s new AI-based coding assistant—you’ll need to write your code in Microsoft’s Visual Studio Code. So far, GitHub Copilot is only available in Microsoft’s editor—not surprising, considering Microsoft owns GitHub.
GitHub Copilot uses AI to suggest lines of code as you’re working. It isn’t optimized for R, but it still will recommend R code. David Smith, cloud advocate at Microsoft, tweeted a brief demo showing that the GitHub Copilot beta can even suggest tidyverse code as well as base R.
Set up Visual Studio Code for R
Unfortunately, setting up Visual Studio Code to work with R isn’t quite as easy as installing RStudio. That’s because VSCode has the capacity to support hundreds of programming languages, considerably more than RStudio. Offering all that capability by default out of the box would make for a pretty bloated piece of software. So, VS Code is modular, and most users have to install extensions in order to optimize VS Code for their specific use cases.
For R users, that means installing a couple of extensions and tweaking a few settings.
Step one, obviously, is downloading Visual Studio Code, which you can find on the Visual Studio Code website. VS Code is free and available for Windows, Mac, and Linux. Install it like any other software package.
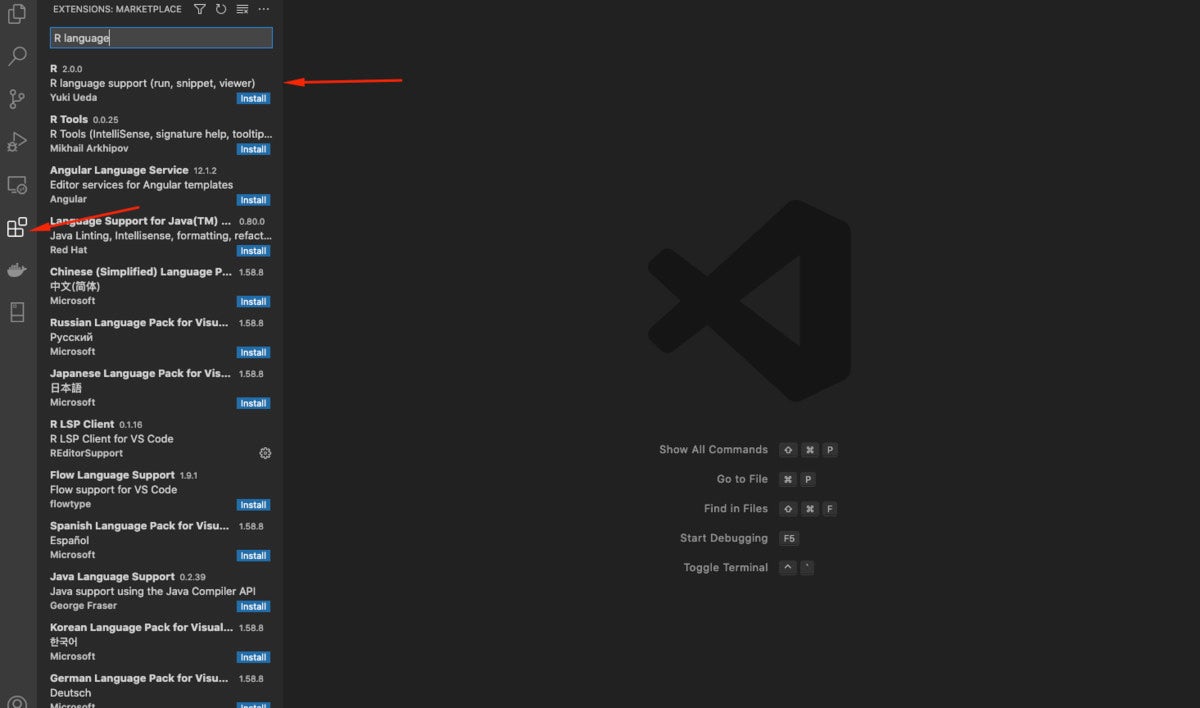
Next comes adding R support. On the left “activity” navigation bar in Visual Studio Code, click the icon with the four squares to search for extensions. I searched for “R language” because a search for “R” will return oodles of non-relevant results. Smith recommended Yuki Ueda’s R Extension for Visual Studio Code, aka vscode-R, which offers basic R language support (run, snippet, viewer). It shows up as the first search result.
 Sharon Machlis, IDG
Click the extensions icon to search for R Language extensions.
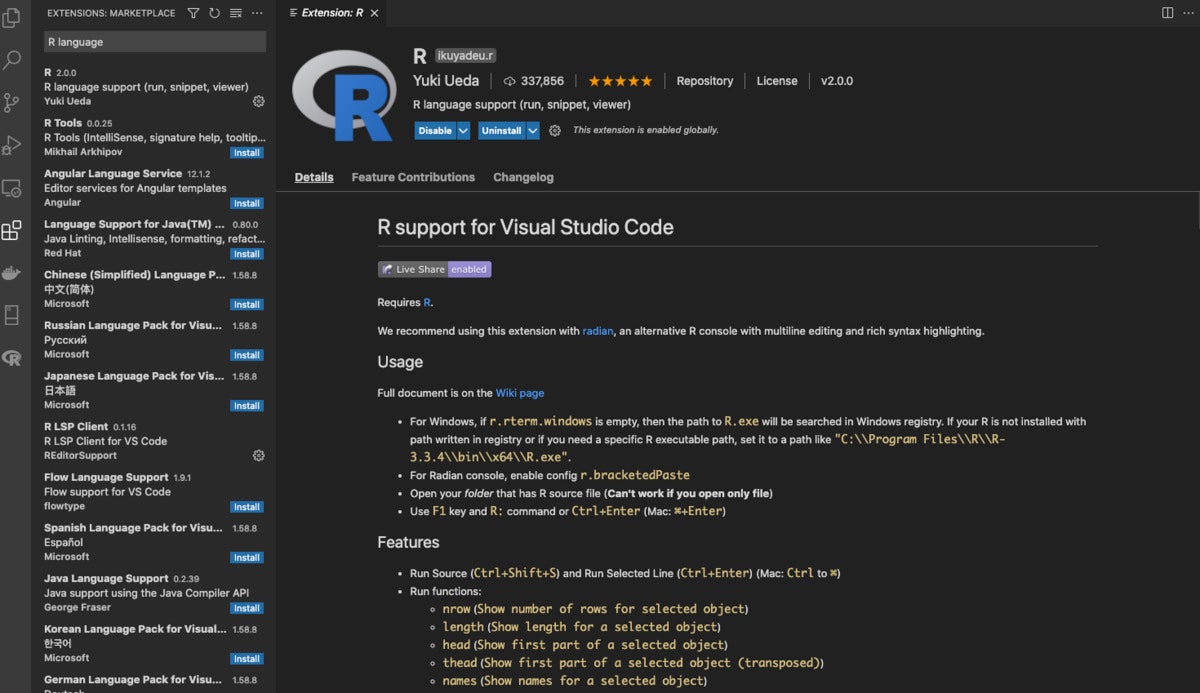
Once you click the install button, you should see a screen with information about how to configure and run the extension. This is important info.
 Sharon Machlis, IDG
Once an extensions is installed, you should see a screen with details about how to optimize and use the extension.
I also read the vscode-R project’s GitHub wiki page and main GitHub page to see what else I might want to add or change to improve my R experience.
One of the first suggestions is to use the radian terminal. That’s not a VS Code extension but an application written in Python—which means your system needs Python installed in order for radian to run. I already have Python and the conda package manager installed on my Mac, so I used this installation command for radian:
conda install -c conda-forge radian
There is also a pip install command for those who use the popular Python package manager:
pip install -U radian
If you don’t have Python already installed on your system, see the video below for easy instructions on how to install Python for use with R and RStudio.
There are a couple of other recommended installations for the vscode-R extension: languageserver and vscode-r-lsp. (Update: vscode-r-lsp capabilities have now been integrated into the vscode-R extension, so you no longer need to install it separately.)
languageserver is a regular R package, so I can go back to RStudio or an R terminal and install it the usual way, with install.packages("languageserver").
To install vscode-r-lsp, I can either go back to my Visual Studio Code window and install it from the VS Code extensions marketplace or I can click the install button on the vscode-r-lsp web page.
The vscode-R extension’s wiki also recommends installing two other R packages, by the way: jsonlite and rlang. I already have those on my system, but you’ll want to make sure you do, too. If you don’t, both jsonlite and rlang can be installed from CRAN with install.packages().
Tweak Visual Studio Code settings for R
The vscode-R extension instructions also said I needed to “enable config r.bracketedPaste”. That means I need to go into VS Code settings and turn that setting on if it’s not already enabled.
The easiest way to change a VS Code setting is to open up the settings user interface. (The other option is editing the underlying settings JSON file.) To get to the settings UI, go to either File > Preferences > Settings on Windows or Code > Preferences > Settings on Mac. You can then search for “bracketedPaste” and click to enable it.
You can also get to the settings UI using Visual Studio Code’s command palette. The command palette is a handy way of accessing all sorts of VS Code capabilities by typing instead of pointing and clicking at menus. A lot of software development environments have command palettes, and they’re good to get to know. In VS Code, you can pull up the command palette either with the F1 key or the key combination Control-Shift-P on Windows or Command-Shift-P on Mac.
 Sharon Machlis, IDG
You can use the command palette to access VS Code settings options.
Once you’ve opened the command palette, you can use it to get to VS Code settings by typing Open Settings. You should see a choice to open the graphical UI or the underlying JSON file.
The vscode-R extension’s documentation mentioned a couple of other settings to update. One was to enable R Session Watcher. The other setting I turned on was R: Always Use ActiveTerminal. This means all R code will be sent to the current, active terminal—even if it’s not an R terminal—instead of launching a new R terminal. This solved a problem I was running into on my Mac, so I enabled it. However, it means that at the start of each R session in VS Code, I need to type “radian” into the “regular” (non-R) terminal before trying to run R code.
As you can see, this is a bit more complicated to set up than the one-and-done RStudio installation. You may want to think of it as similar to first installing R, which is often followed by installing a lot of packages like tidyverse, data.table, and janitor on top of your brand new basic R installation.
Write and run R code in Visual Studio Code
The vscode-R extension instructions suggests that users open a folder when working in R, not just create a new file. You can open a folder by going to File > Add Folder to Workspace. Once you do that, you can use the “explorer” icon at the top of the left-side activity navigation bar to view available files.
One more step to set up my session if I want to run code as well as write it: I need to open a “regular” non-R terminal and then launch my radian terminal for R by typing radian. To do this, I go to the top menu and Terminal > New Terminal. Once I type radian into the terminal, a radian R terminal launches and I’m ready to go.
You can run a line of code or several lines you’ve selected by hitting Control-Enter on Windows or Command-Enter on Mac. That’s pretty similar to RStudio.
Help is a little different in VS Code than in RStudio, though. Using the help() or ? help shortcut isn’t as elegant. It looks more like Unix help—and you need to type q to quit out of it after viewing it.
 Sharon Machlis, IDG
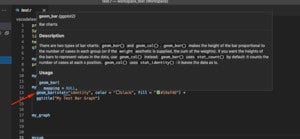
Hover your mouse over a function such as ggplot2’s geom_bar() and VS Code will return help file info.
However, if you hover over a function, you’ll get some help information without having to type anything, which is pretty convenient.
The hover works for variables you define, too. (You can see how that works in the video embedded at the top of this article.)
You can preview R graphics in Visual Studio Code by running graphics code such as ggplot2 code, and the resulting graphics will pop up in a new window.
 Sharon Machlis, IDG
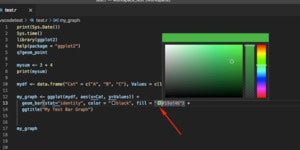
Use a color name or hex code in your R script, and VS Code will show a small box with that color. Click in the box and it turns into a color picker.
VS Code has a cool R dataviz feature: When you include a color’s name or hex code in your R code, a little box pops up showing that color—and that box also serves as a color picker. Click on it and you can pick any other color, and the new color hex code will replace the old color in your code. You can see that in action in the video above as well.
R code snippets in Visual Studio Code
One last point: I can’t use a code editor without code snippets. Snippets are stored code blocks that are easy to reuse by typing the snippet’s abbreviation. Some R snippets are included with the vscode-R extensions, but you can also create your own.
The first time I went to Code > Preferences > User Snippets and chose R, an R snippets JSON file was automatically generated. Now if I go to Code > Preferences > User Snippets, I can open that r.json snippets file and edit my old snippets or add new ones.
Here is the syntax for creating a snippet in VS Code:
"Snippet Title": {
 	"prefix": "what_i_type_to_trigger_snippet",
 	"body": [
 		"my R code here;",
 		"myfun(${1:argument_label} #example code"
 	],
 	"description": "Optional description for my snippet"
 }
And below is an example of my snippet for creating a basic ggplot2 bar chart with blue bars.
"Basic bar plot blue": {
	"prefix": "myg_barplot_blue",
	"body": [
		"ggplot(${1:mydata}, aes(x = ${2:myxcol}, y = ${3:myycol})) +",
           "geom_bar(stat='identity', color = 'black', fill='#0072B2')"
	],
	"description": "Basic ggplot bar plot with blue bars outlined in black"
}
The dollar sign braces are variables that can be easily filled in via tabs.
RStudio has code snippets as well. Both code editors let you see available snippets when starting to type the snippet abbreviations (which is why I came up with the convention to start all my ggplot2 snippets with myg_). However, VS Code also lets you see a complete list of your snippets using the Insert Snippet command from the command palette—just hit the F1 key and then type “Insert Snippet.”
Use Visual Studio Code for R?
Visual Studio Code has some very useful features, and it might be worth using for certain code-heavy projects where the function and variable pop-ups would come in handy—or when I’m going back to coding in other languages.
I love the ability in VS Code to look at all my snippets, including titles and optional descriptions! That’s one feature I’d really like to see in RStudio.
Still, I’ll likely stick with RStudio for now, especially for R-specific tasks like R Markdown documents and Shiny apps. But that may change when I finally get access to GitHub Copilot.
For more R tips, head to the InfoWorld Do More With R page.


